Step 1: How to set up an FTP server on your Windows PC
The following notes assume that you have access to a Windows PC, have administration rights to install and configure software upon it, and you also have a wireless router or similar device, from which you can access the internet from your PC and using your iPhone.
There are many FTP Server applications available for download from the internet. Many companies provide a freeware version of there FTP Servers, or a free demo version for a limited period. The following link provides a detailed list of FTP Server applications currently available. One FTP Server that is not listed is the WFTPD Server available from Texas Imperial Software. This application is very easy to set up, therefore for the purpose of this guide I am going to assume that you are going to be using this application.
So lets begin,
1.) Firstly you will need to download and install the software on your PC. Click aboveWFTPD link to go to the Texas Imperial website and download the application, by selecting the "WFTPD Server - Windows FTP Daemon" download option. A file download box will appear. Click SAVE, and save the file to the desktop.
2.) Extract the files from the file WFTPD Trial 3.30.zip, by right-clicking and selecting "Extract All" This should create you a folder on your desktop named "WFTPD Trial 3.30". Inside this folder are the files you will need.
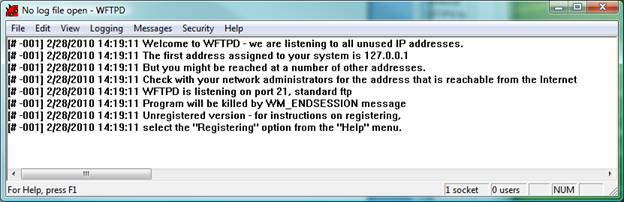
3.) Open the Application by right-clicking the file WFTPD.exe, and selecting "Run as administrator". This will launch the FTP Server Application, and you will see something that looks like this.
4.) The next thing you will need to do is setup an account. So from the menu select Security->Users and select "New User".
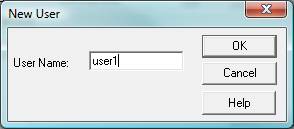
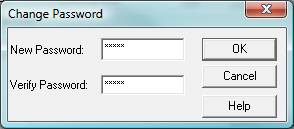
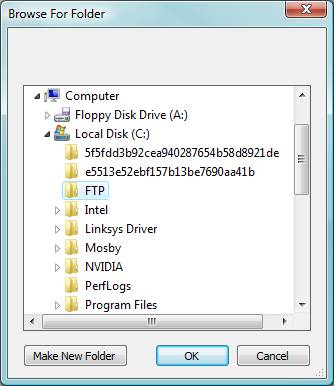
5.) As shown above, you will be prompted to enter a username and password. To get going enter 'user1', for the username and 'pass1' for the password. Select the "Restrict to home directory" checkbox and browse to the folder that you want the uploaded files to be stored. For this purpose I created a folder C:\FTP as shown below:
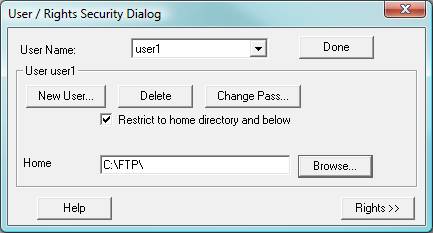
Now select "Done" and you are ready to upload files.
Step 2: How to run a Dynamic Slideshow on a Windows PC
Again there are lots of slideshow applications on the market, but not many that allow you dynamically view recently uploaded files Our application has been created for that very purpose. It allows you to monitor for files in a given folder. If an new file is uploaded to that folder that happens to be a JPEG image, it will display it immediately on the screen.
Here are some step-by-step instructions to setup and run our dynamic slideshow application "Snap Viewer".
1.) Download the application using the following link. And save the file to your desktop.
2.) Double click the file Viewer.exe to launch the application. (If the application does not run you may need to download Microsoft .NET framework from the following link).
When the application starts up it will ask you to browse to the folder you want to use for the slideshow. Browse to the folder your FTP server is using: E.g. in this example we use C:\FTP.
3.) Your application will now startup and monitor for new files in the C:\FTP folder.
4.) Note the information displayed in the status bar of the application. This can be helpfully information when setting up your WiCam application.

Step 3: How to configure WiCam for the dynamic slideshow
Now that you are are running your FTP server and dynamic slideshow application, you will be able to upload images using WiCam and have them displayed immediately on your computer screen. To setup WiCam follow these simply instructions.
1.) In your WiCam Application, open the "FTP Settings" page.
2.) Select "Edit" and then "+" to add new FTP Server settings.
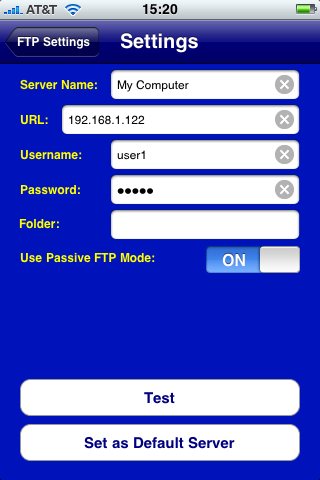
3.) In the Settings page enter the following details:
URL: For this enter the IP address of your computer. For convenience this will be displayed on the status bar of the SnapViewer application. In the example above this is "192.168.1.122"
Username: This is the username of your FTP account. I the example above this was "user1"
Password: This is the password of your FTP account. I the example above this was "pass1"
Folder: In the example above, the "Restrict to home directory" was selected, so this folder field can be left blank.
Use FTP Passive mode: Leave this set to ON.
4.) Now select the "Test" button. If the see the message "Test Pass", then you are all set. If not, check you have entered the data correctly.
5.) Select the "Set as Default Server" option and return to the main menu.
6.) Now you should be able to upload photos to the slideshow, using the "Capture and Send" or "Select and Send" options.
Step 4: How to setup your Router so that you can send pictures from afar.
This fourth step is optional, for those wanting to send photos to their home PC, when they to far away from home to use their wireless connection. WiCam also works well over 3G connections, and now that you have your system setup for indoor use, why not try extending your system to work for outdoor use. Send photos, home from the match, from the office, or from anywhere in the world!!
In order to extend your system to allow you to send pictures from the outside world you simple need to configure your router to forward FTP transfers though to your computer. Then you simply change the IP address in your WiCam settings to the IP address of your router. How you do the first part depends upon your router. Depending on the model of your router, the exact method to do this will be different but the follow illustrates how I did it on my router (a linksys Wireless-G 2.4).
1.) First of all, long into your router. My route is at IP address 192.168.1.1, so I open a web browser and enter "192.168.1.1".
2.) Log in to your router using your username and password, if necessary.
3.) Find the port forwarding settings. On my router I clicked 'Applications & Gaming' -> 'Port Forwarding'
4.) I then get the following page where I setup the IP Address of my computer, as follows:
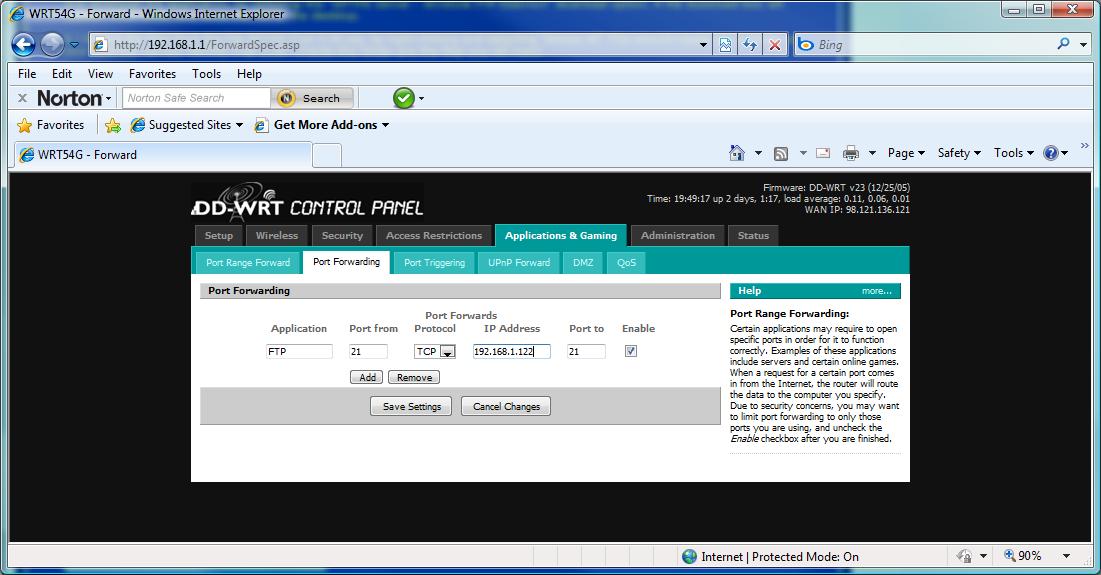
5.) Note that you must also enter the port number for FTP, which is usually 21, unless setup differently at your FTP server.
6.) Save your settings.
7.) Now to complete you must update your IP address in WiCam. Open the 'FTP settings page' and change the URL/IP address to your router WAN IP address. This is usually displayed on your routers webpage, but it can also be found using the Snap Viewer application ( see step 2.4, above ).
Now you should be able to transmit images to your computer from anywhere where there is a 3G or wireless connection. The possibilities are endless.
Happy snapping!
Need addtional support? Click Here.